-
-
1.
Welcome!
4:21
-
2.
Materials
3:10
-
3.
Class Project | Mixing Neutrals
8:08
-
4.
Practise For Our Study
7:18
-
5.
Class Project: Study | First Layer Stippled Centres & Petals
5:09
-
6.
Class Project: Study | Second & Top Layer Petals
4:26
-
7.
Class Project Study | Stippling, Leaves & Pencil
6:27
-
8.
Thank You!
1:22
-
Yellow Blanket Flower in Gouache or Watercolor | Mixing & Naming Neutrals
Holly Tomas Art, Watercolour | Gouache | Mixed Media | Scotland
About This Class
Welcome to this is Grassroots introduction to mixing neutrals!
This is number THREE in this series of classes.
There are three components to our classes,
- Creating neutral backgrounds
- Naming your curated palette!!
- Painting a little study
One of my aims with the classes I prepare for you, is to create an environment of safety where you feel free to Explore, Experiment & Express yourself... the 3 E's! lol
In this series of classes, I'll be offering a foundational introduction to mixing neutrals, where we're going to mix with primary colours with white or black. There are infinite neutrals, and that's what makes this so much fun!
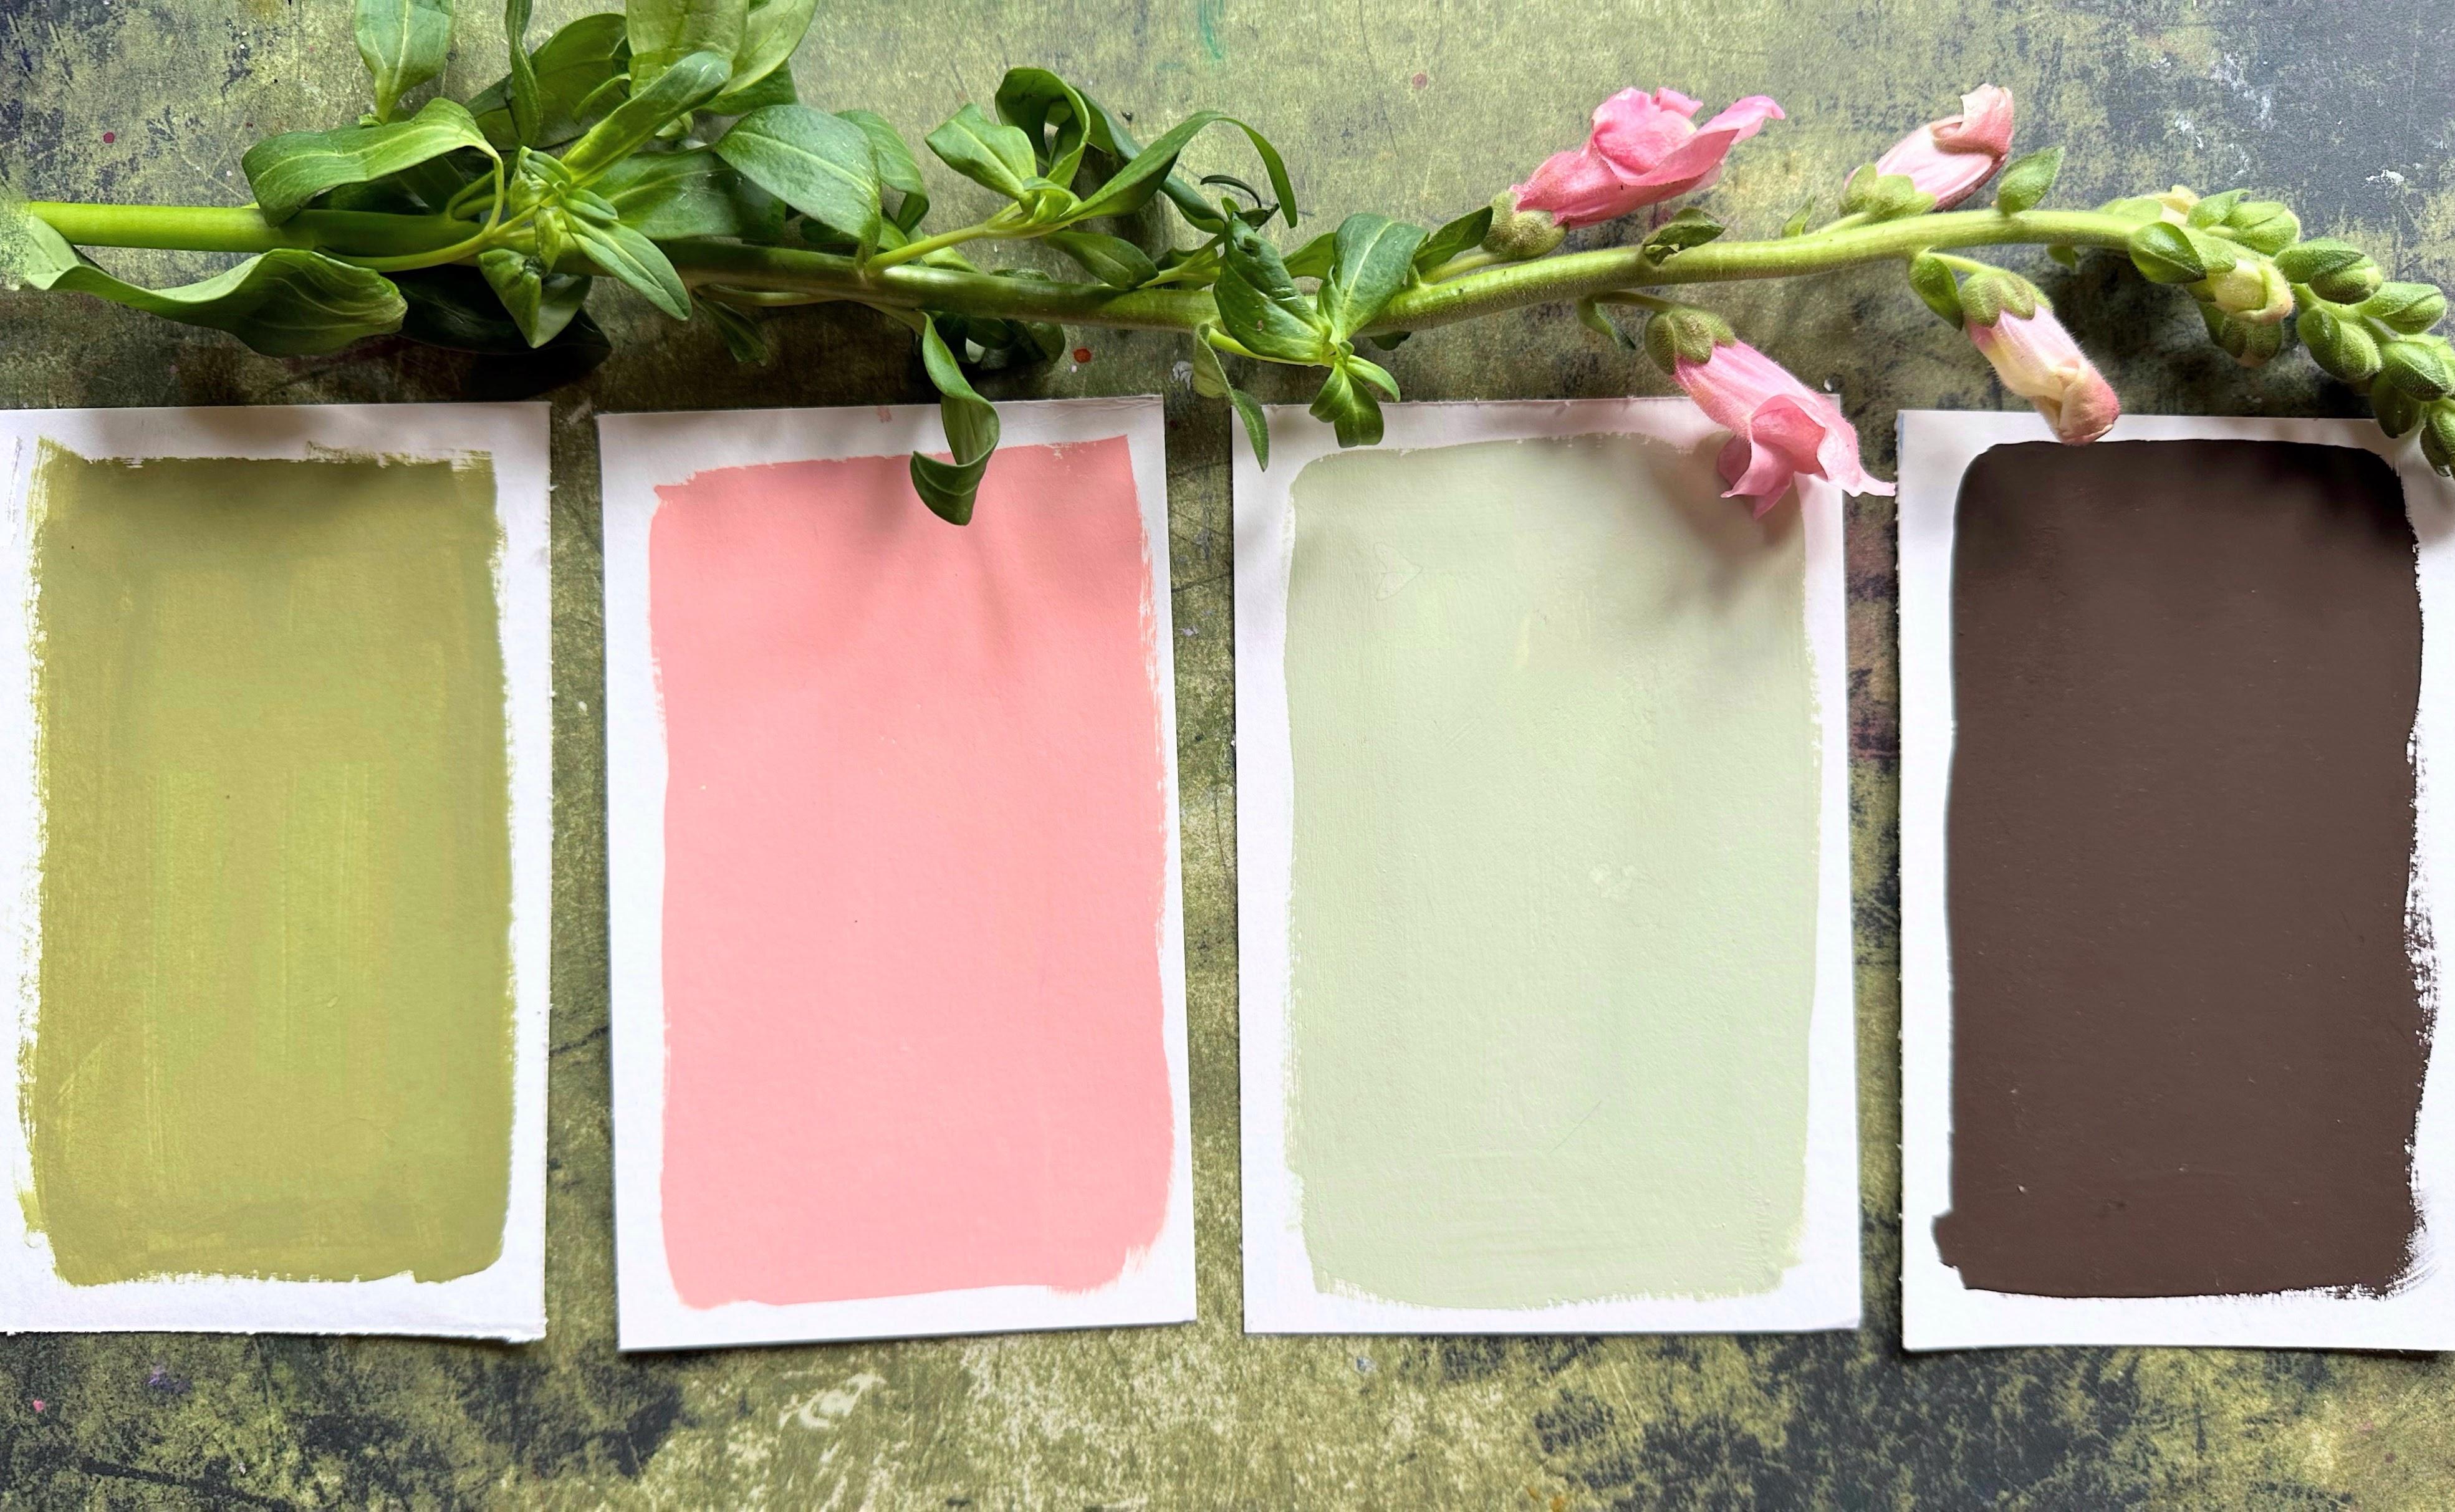
There are three main focuses in each class
- Mixing our neutral tints
- Naming them!
- Creating a floral or leaf study using our chosen background
If you have found even beginning on mixing neutrals overwhelming, this is the space to have fun, where you can tune into your inner child and relax, to challenge the 'Oughts' 'Shoulds' & 'Have tos' which tend to plague our lives... allow yourself to mix colours with abandon.
We're going to really engage with our curiosity and ask 'what would happen if...' and then go there! No limits. The deeper we go into colour mixing, the more confident we become.
By the end of this class, you'll get to a place of confidence where you'll feel able to mix your neutral 'recipes' time and time again!
Even more fun..... We're going to NAME our curated neutrals! Creating your own names for hues and palettes is a brilliant way of locking in that memory and solidifying your learning, whilst providing you with handy backgrounds for you to select for future projects!
By the end of these classes, you'll get to a place of confidence where you'll feel able to mix your neutral 'recipes' time and time again!
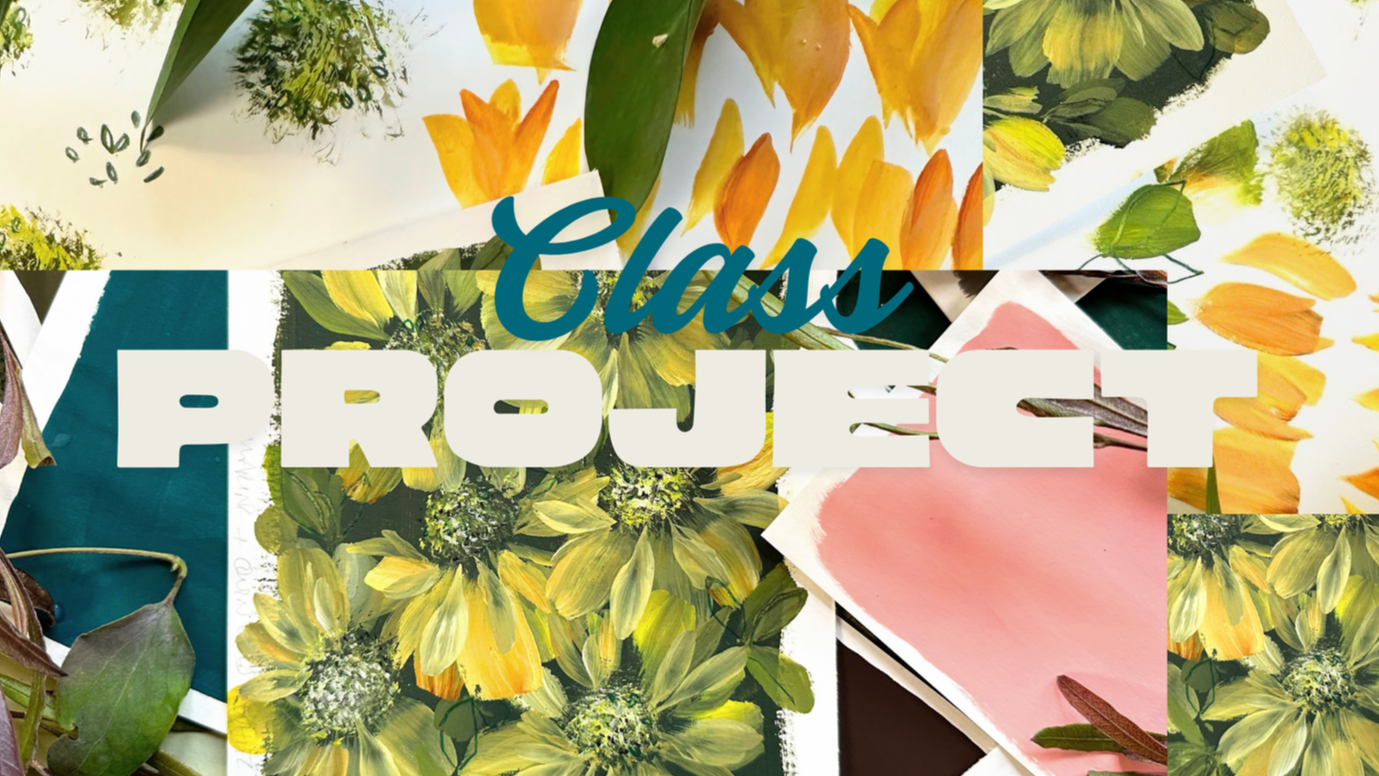
In this Confident Beginner class, We'll be painting greens!
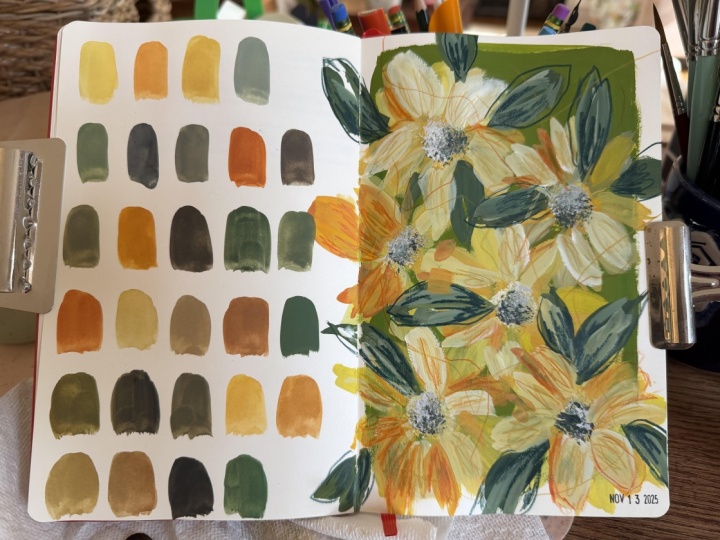
I chose one these for my study. I called it "Presmennan" after one of my favourite woodlands here in East Lothian, Scotland. It's a lush mix of Quinacridone Gold & Ultramarine... I love mixing greens with oranges or golds with blue... you get such a rich hue with incredible depth and warmth!
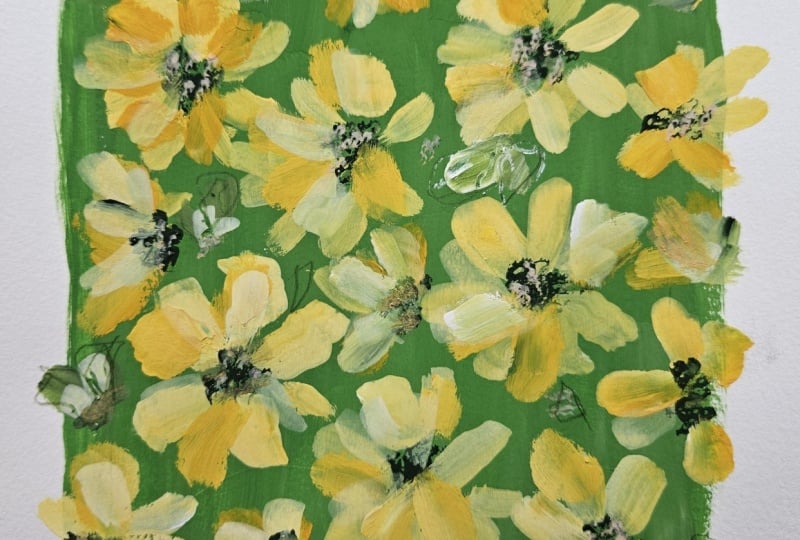
For our study I chose to paint Yellow Blanket Flowers or Gaillardia. I usually always paint from imagination, and often don't know which flower I've painted until afterwards lol. But these Yellow Blanket Flowers wanted to flourish... and here they are!
Such joyful flowers to paint.
Aspects of what we'll be covering in class:
- Mixing just the right paint-to-water to create a background with good coverage
- Jumping between colours
- Mixing 'on the brush; or 'on the page' This is a wonderfully random and often surprising method of painting... it allows your intuitive brain to move into the forefront, as we'll be picking up colours without too much thought.... it's a perfect balance between knowledge and experience and relaxing that enough for you to make quick, heart-led decisions.
We'll be doing this with both the stippled centres & the flower petals. This is where the phrase 'trust the process' come in!
- Using only TWO brushes throughout the process, a flat brush for our background and for painting our petals, and a stippler for our Flower centres. We're going to be creating full brush blunt petals, and smaller side-of-the-brush movements.
- We'll be exploring translucency by adding a little more water for our top petals, which take full advantage of not only the petals underneath, but the green background. This is a fabulous technique and is definitely next level painting, as it's so incredibly effective, and yet easy, with a little practise, to achieve!
- For a finishing touch, why not get a coloured pencil out and add some marks to both your leaves and flower heads? I used a Caran D'ache Luminance Dark Sap Green pencil. I am a recent convert to these and they have become one of my go-to pencils now!
They're so great to use... they're both soft and hard haha... if that makes sense. The inner pencil colour itself is such good quality... and I've now bought about 7 or 8 of them!
So, shall we get started?! :O)
PAPER:
- Watercolour or Mixed Media/Sketch paper (I used Fabriano Student Hot pressed) but you could use most papers.... as we're going to be creating a layer of paint, so we don't need to reply on the paper's properties.
GOUACHE:
- White
- Black
- Ultramarine
- Pyroll Red
- Quinacridone Gold
- Hansa Yellow Light
- Prussian Blue
BRUSHES:
- 1/2 inch flat brush (I used a Jackson's)
- Stippler brush (i used a make-up stippling brush) Makeup Brush set
- but I also have this one: Jackson's Stippler from Amazon
There are subtitles available for my hard of hearing & Deaf followers. Start your lesson rolling and click on the icon, which you'll find next to the volume button. A full transcript it also available. If you experience any problems with access, please don't hesitate to get in touch via a Discussion or over on instagram hollytomasart
*Image of Yellow Blanket Flowers thumbnail, courtesy of Gardencrossings.com
Please note that this class is provided for personal educational, informational and convenience purposes only, is general in nature and is not intended as a substitute for professional, legal, or medical advice. Read more about this in our Terms of Service.